Building a quality home starts with a quality foundation. Â Getting the foundation right makes everything that follows go more smoothly. Â If it’s off (out of square, not level, hold downs in the wrong place) everything that comes after is a battle. Â Being the wise and seasoned builders that we are, we try not to make more work for ourselves than we have to!
This past week, Carson and his crew poured the concrete into the forms and set the hold downs as prescribed by the structural engineer. Â Hold downs are j-bolts, straps or all thread set in the concrete, while it’s wet, at prescribed spacing to ‘hold down’ the walls and to provide an anchoring point for shear walls.
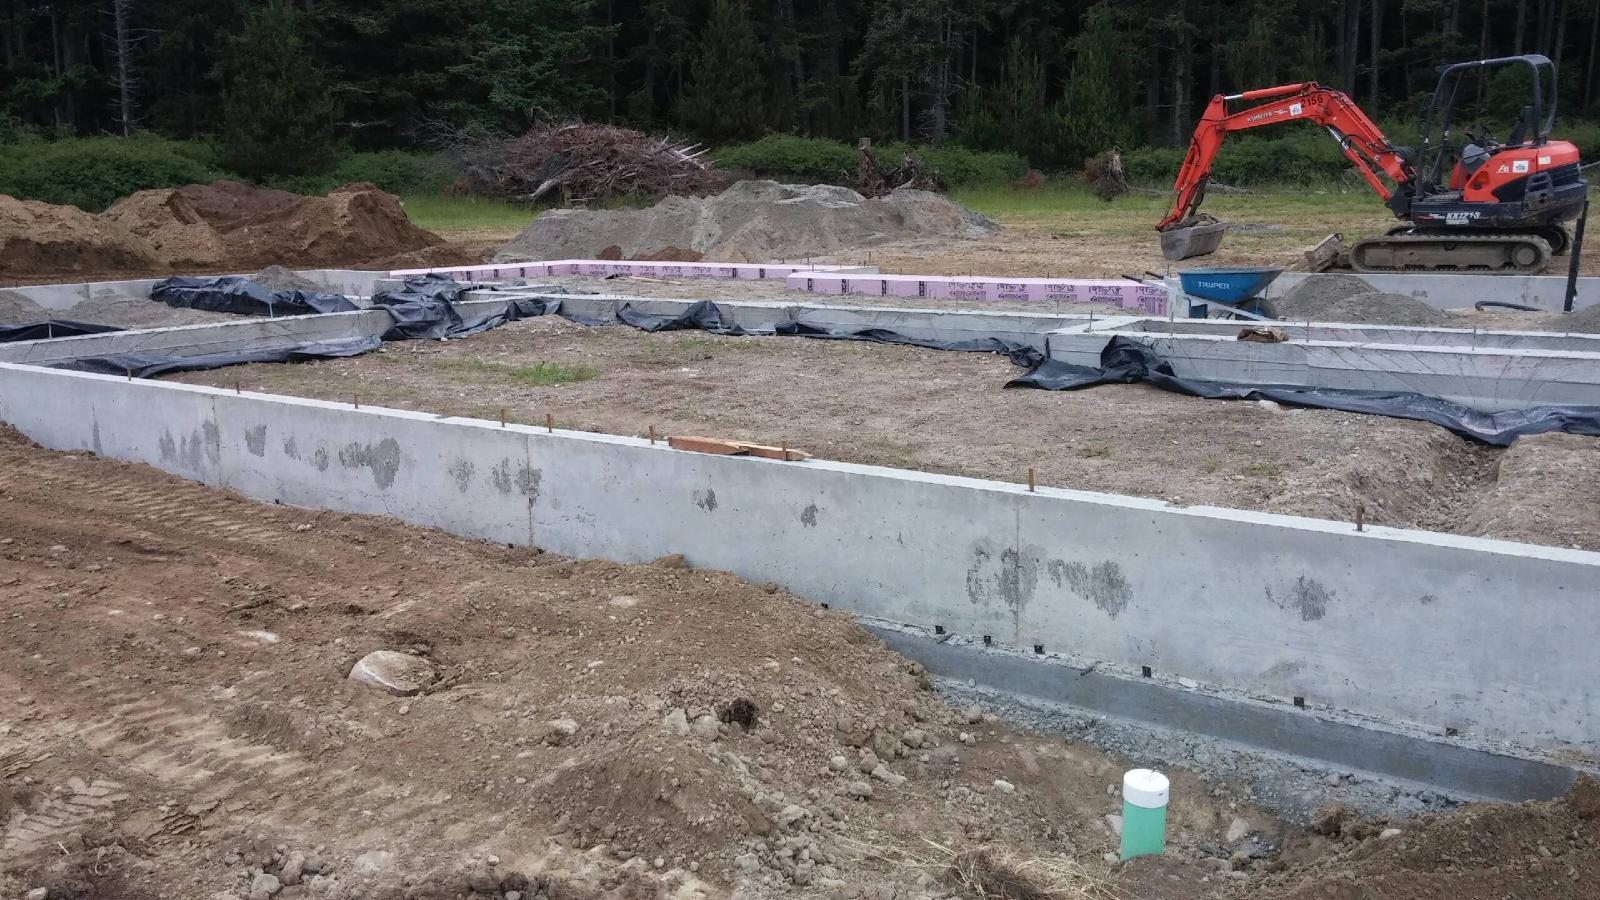 We like working with Carson’s foundations, they’re spot on.
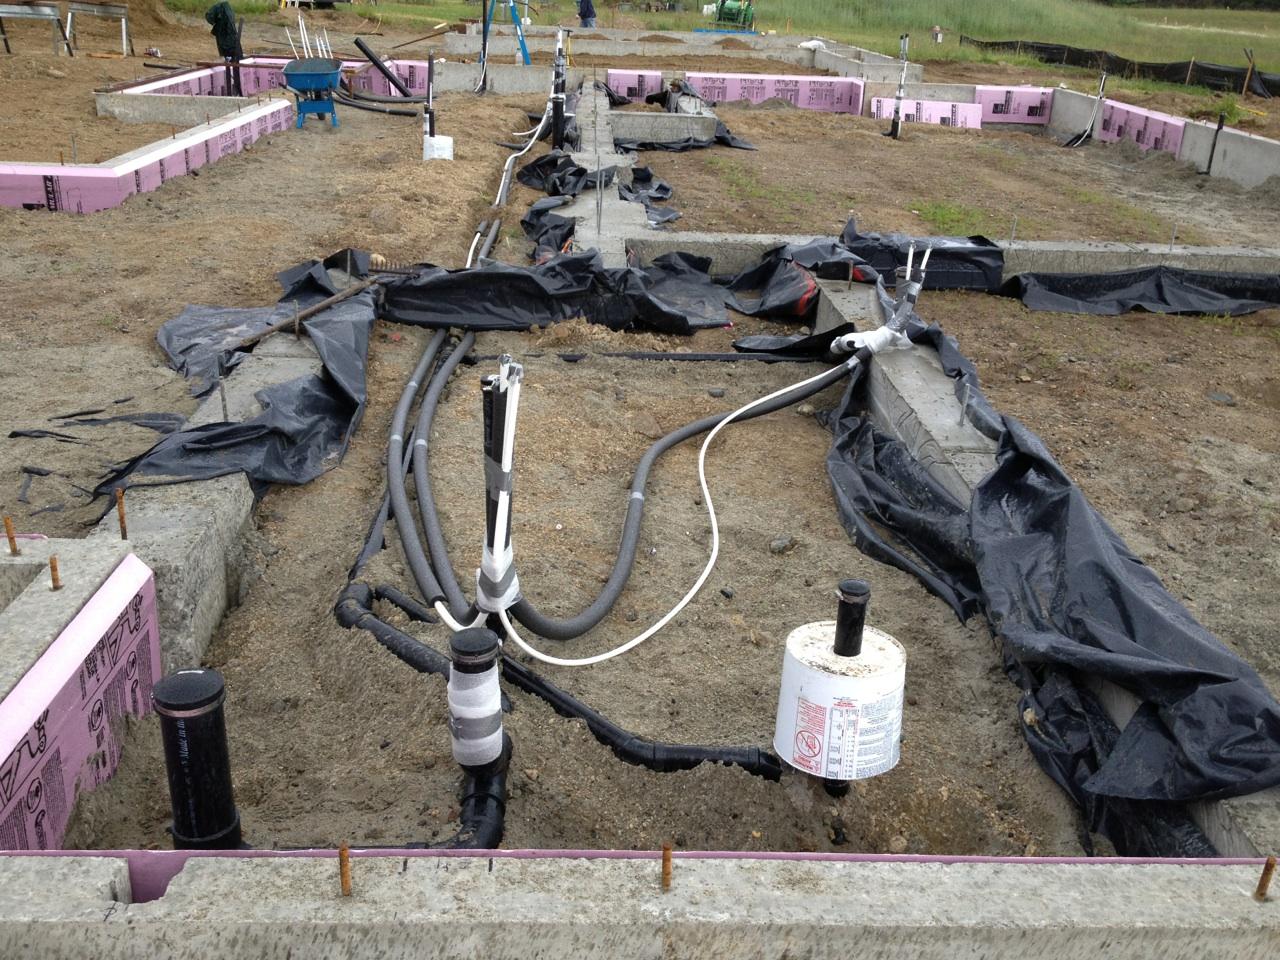
After the concrete sets, the forms are removed and back fill can begin. Â Since we’re doing a slab on grade floor there’s perimeter rigid insulation to install before filling in the foundation with gravel. Â The gravel will be placed up to a grade that allows for R-10 rigid under the slab and 4″ thick concrete to be flush with the top of the foundation walls. Â Before the under-slab insulation is set, any plumbing, electrical and mechanical lines have to be run to their planned locations. Â This requires a lot of forethought- every location has to be placed precisely in order to avoid problems later.
 The gravel is placed to grade, ready for compacting
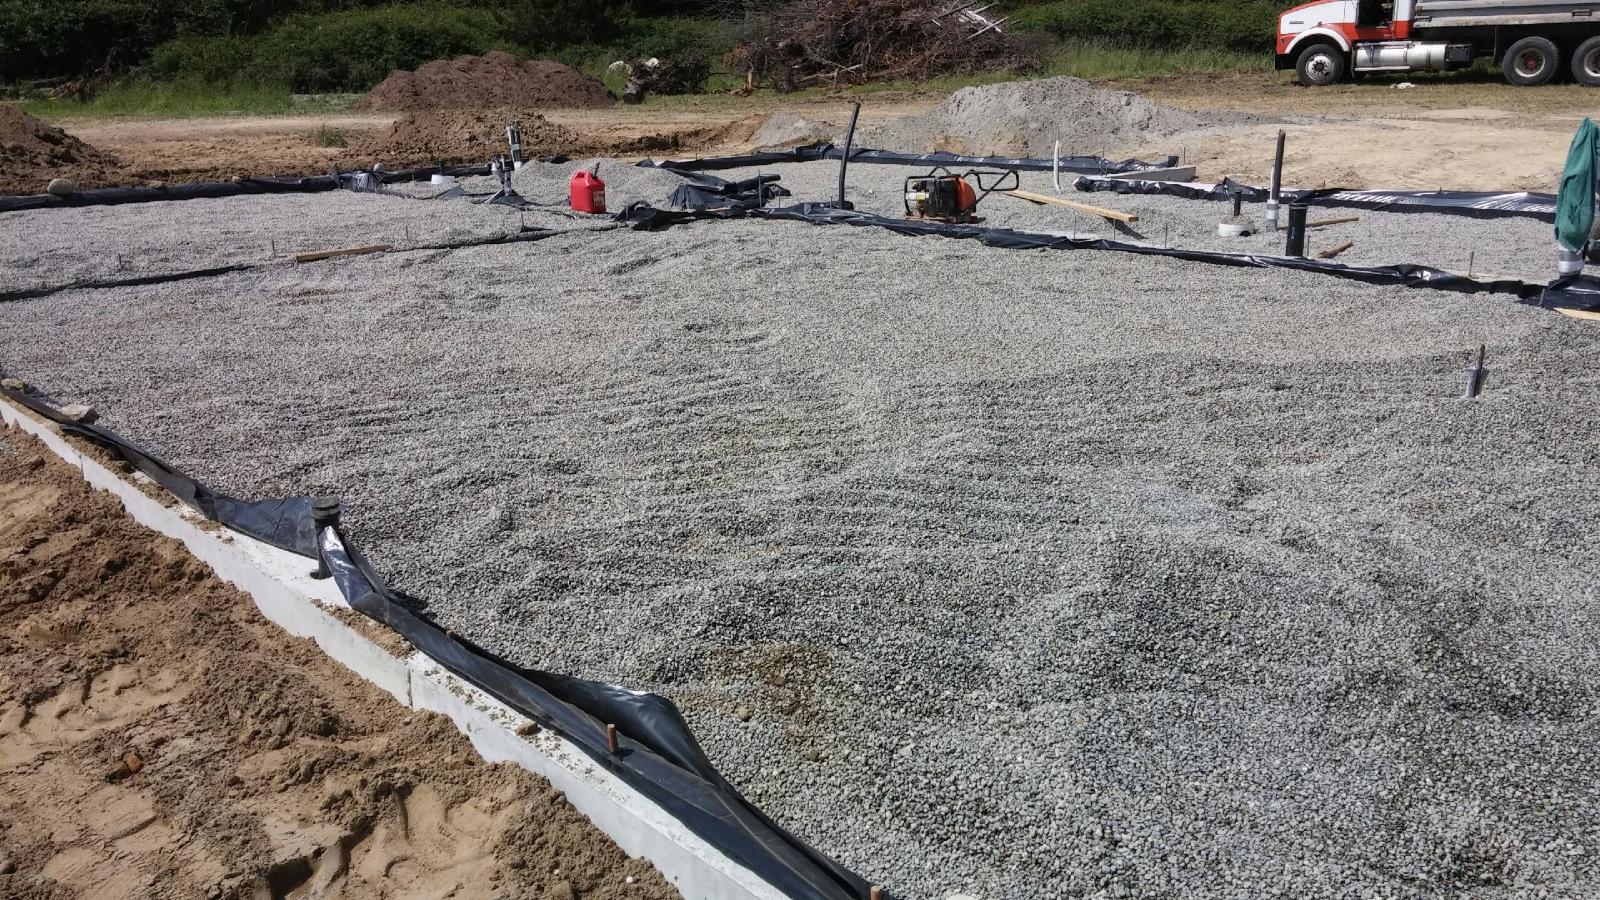 At the end of week 2 of Project Homestead construction, the rough under slab preparation is complete. Â Next up, the rigid insulation will be laid over the gravel, pipes for the in-floor radiant heat and concrete reinforcement will be set, then it’ll be time to pour a floor.

0 Comments